How to localize iSubtitle
You only need a Text Editor to localize iSubtitle. It’s really, really simple.
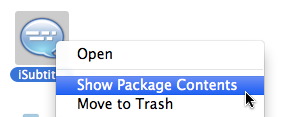
Start by showing the contents of the iSubtitle application bundle. Ctlr-click on the icon to reveal the contextual menu.
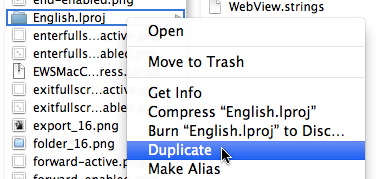
Navigate to Content->Resources and duplicate the English.lproj folder.
Name the new folder using a ISO 639-1 or ISO 639-2 language code. You can find more info about this here. And all the available codes here.
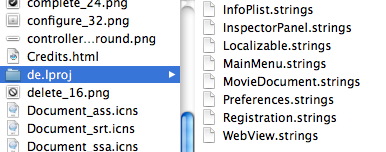
In this sample we are starting with a German (Deutsch) localization and we call the folder de.lproj. Remove all files that doesn’t have the suffix .strings and you are ready to go.
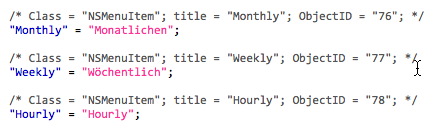
Now just open any text editor of your choice and start translating all the string to the right of the keyword. Like this...
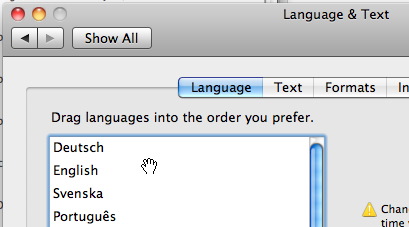
If you set the language to Deutsch, in this case, you can easily check your progress.
Just launch iSubtitle again and you will see the strings you translated.

When everything is done you just zip the folder with all the translated files and send them to us. We will implement your localization in the next version of iSubtitle and you will receive a full license for your work.
Thanks in advance!
